
The fastest way to go live is to use the equipment you already have. Like your mobile phone and its built-in audio. But as a business, you’re most likely in need of some professional live streaming equipment recommendations. So if you find yourself asking: “What equipment do I need to live stream?” then this is your guide to the best live streaming equipment out there and how you can put it all together and be ready to make production and broadcast live video.
Table of Contents
In this article, we’ll cover in detail what equipment is needed to live stream, including:
- Video Cameras
- Audio Equipment
- Mixing Equipment
- Encoders
- Live Streaming Accessories
- Content Delivery Networks (CDNs)
- Putting Everything Together
- Final Thoughts
How do I Set up Live Streaming?
To start, let’s break down what you’ll need to broadcast video. Setting up live streaming is pretty easy once you know the basics. There are four major parts in order to set up your live stream.
- Video and Audio Source – This will be the cameras, computers and any other image source we discuss in the post. Audio will be microphones, mixer feeds and other sounds to be played in your stream.
- Video Encoder – This is a valuable piece of equipment we’ll dive into. It sends your video to the internet.
- A streaming destination – This is the streaming solution you will choose.
- Internet connection – A stable internet connection is a must when you decide you want to broadcast video.
Your streaming set up workflow comes down to setting up your audio and video to your encoder, setting up the connections, planning your steam and establishing a connection between the encoder and the streaming solution. Once you’ve connected everything together, you’ll be able to start production and others will be able to watch your digital content right away. Now that the basics are covered, let’s dive into each of these major parts in more detail.
Video Cameras
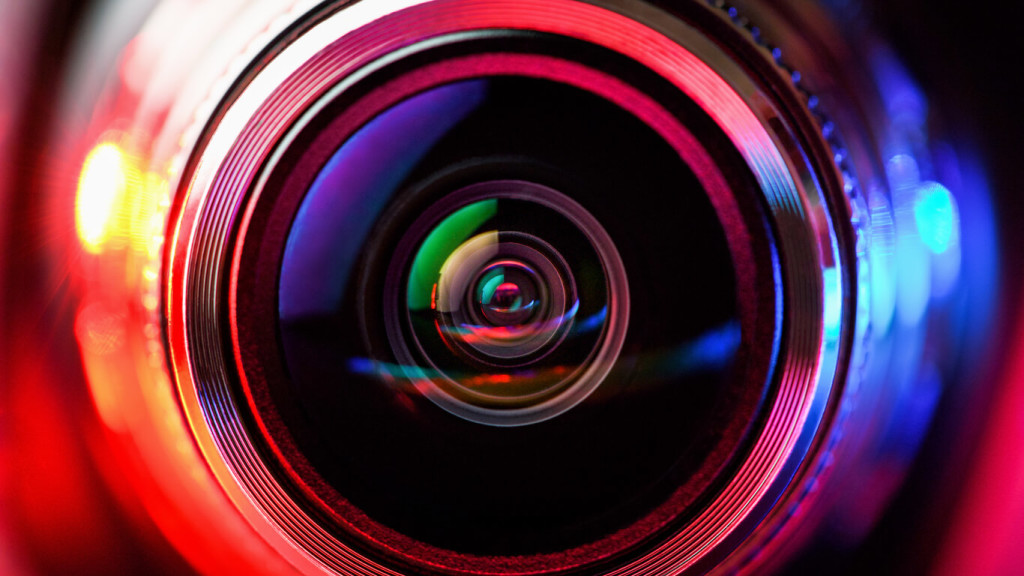
The first requirement for live streaming equipment is a video camera. There are thousands of different live streaming cameras available. Like most types of gear, live streaming video cameras come with trade-offs.
Entry-level video cameras tend to be cheaper and lightweight. Video quality can be good, but only if lighting conditions are ideal. They lack manual controls and include only basic connectivity.
- Example: smartphone cameras, action cameras, entry-level camcorders
Prosumer video cameras are the mid-range option. Image quality improves at this level, making the picture excellent. Connectivity is decent but not professional-grade, with HDMI being a standard option. There may be a few manual controls, but without the ergonomics and customization of a fully pro-level camera.
- Example: DSLR and mirrorless cameras, prosumer camcorders
Professional video cameras include pro-connectors like XLR and SDI. They tend to have large, high-resolution sensors that provide excellent image quality, even in poor lighting conditions. Build-quality is higher, with manual controls, making they’re more durable. Some professional cameras will even allow the use of interchangeable lenses.
- Example: professional camcorders, EFT cameras, cinema cameras
Audio Equipment
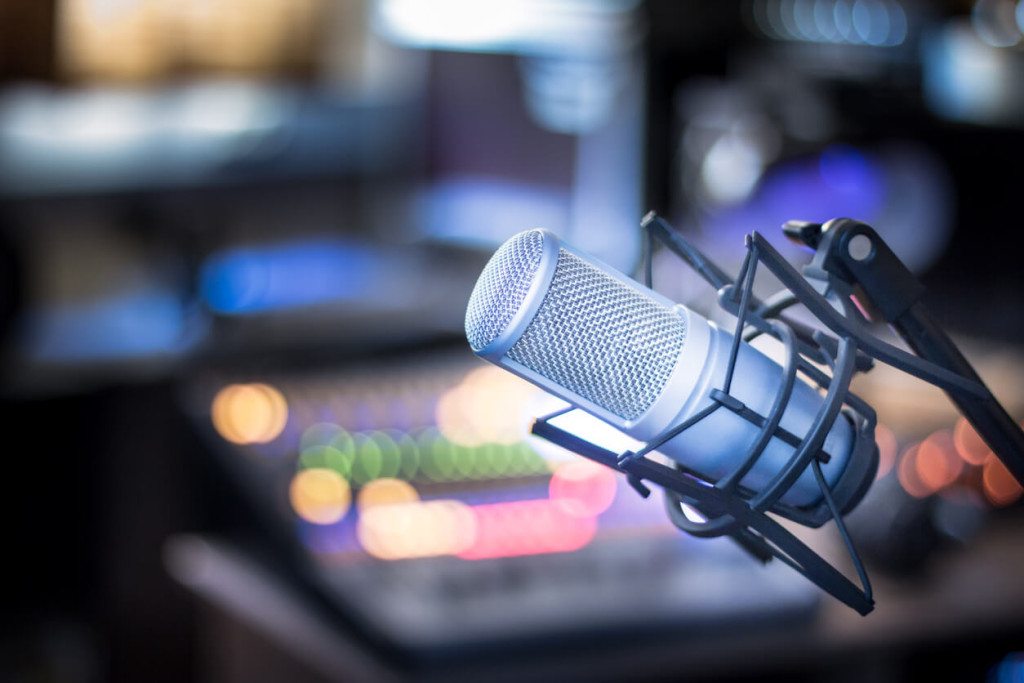
Various studies have shown that audio quality is even more important to viewers than video streaming quality. If a live streaming video stutters, the user-experience may be fine as long as the audio quality remains high. The lesson here is not to skimp on audio.
There are three basic tiers of audio live streaming equipment:
- Low—Medium Quality: For example the built-in microphone on entry-level and prosumer cameras.
- Medium-High Quality: USB and 3.5mm microphones, or built-in microphones on professional live video cameras.
- Professional Quality: XLR microphones.
A basic $15 wired 3.5mm lavalier mic can greatly improve your audio quality over the built-in microphones on entry-level video cameras or phones. Upgrading to a high-end 3.5mm microphone can deliver great quality as well. But if you want to maximize audio quality to the highest level, consider XLR microphones. This is the professional standard for quality and durability, and it’s been that way for decades.
Mixing Equipment

Mixing or switching live streaming equipment allows you to capture multiple video or audio sources, and switch between them during a live broadcast. This is optional, but if you’re doing a large multi-camera shoot…mixing is essential.
Hardware switchers are ideal when you have a lot of camera angles. These devices allow you to press a button and easily switch between cameras. One example of a professional live video switcher is the Blackmagic Design ATEM Television Studio Pro 4K Live Production Switcher, which costs $2,995. This device allows you to connect up to 4 HDMI cameras and 4 SDI cameras and has an 8-camera SDI version also available. You can then switch between them using software on a connected computer.
When looking for the right piece of video mixing equipment consider the following:
- physical size
- input and outputs
- automation & connectivity
- on-board processing
- User interface
For a complex shoot, you’ll end up with multiple audio sources. This will require some sort of audio mixing. If you’re using a live streaming encoding software, you may be able to mix digitally on the computer. A more expandable option, however, is to use a separate audio mixer to capture the audio sources. You can then adjust levels and other qualities individually, and import a clean sound signal into your encoder.
When looking for the right piece of audio mixing equipment consider the following:
- the number of input and output channels
- auxiliary and monitor buses and outputs
- on/off or mute buttons
- digital inputs
- control via a network app
Encoders

The fourth key piece of live streaming equipment is encoders. Video encoding is compressing video files so they are not saved as individual images but as one fluid video. Engineers developed video encoding which provided a way to compress files without compromising the quality, which is extremely important for businesses.
There are a variety of reasons why you might want to encode a video:
- Reduce file size
- Reduce buffering for streaming video
- Change resolution or aspect ratio
- Change audio format or quality
- Convert obsolete files to modern formats
- Meet a certain target bit rate
- Make a video compatible with a certain device (computer, tablet, smartphone, smartTV, legacy devices)
- Make a video compatible with certain software or service
There are two main types of encoders: hardware and software.
Hardware encoders are dedicated processors that use a designed algorithm to encode video and data into streamable content. These encoders come in smaller, portable boxes or larger permanent fixtures. They can support a wide range of sources, but often HDMI and SDI. They’re usually built to last and can support 24/7 video streaming without crashing, ideal for professional use. There are also some specialty hardware encoders on the market that use battery power and 4G LTE connections to stream live video from remote locations.
Software encoders are programs that run on a computing device, like a laptop or desktop computer. To capture video, they need to be paired with a capture card or other means of connecting your cameras to your computer. A few popular examples are vMix, Wirecast, OBS Studio, and VidBlasterX. These software packages also integrate mixing and production tools. These encoders appeal to live streaming startups because of their low cost and customization features. However, software encoders do. lack the overall latency speed that hardware encoders offer, which is something to consider when deciding on the right encoder for your live stream.
Live Streaming Accessories
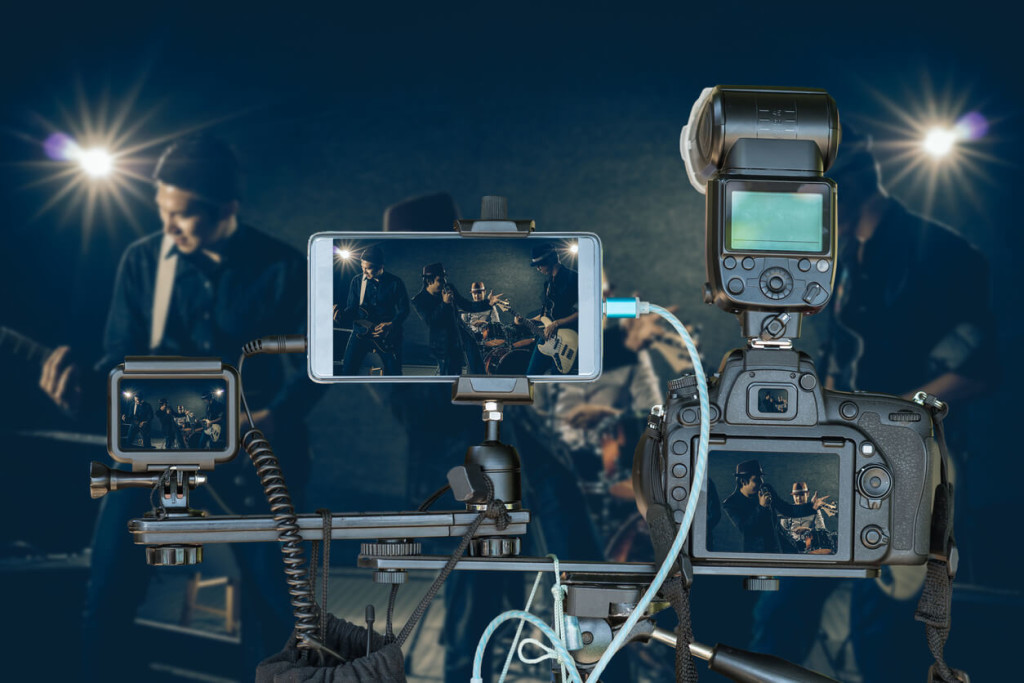
To tie together your production, you’ll need a variety of miscellaneous live streaming equipment. This will include cables, tripods, batteries, and random things like light stands.
These accessories will make your live streaming set up the best it can be for your business. Just as every business is different, the needs for accessories will be different too.
With every live streaming production, a tripod is the most important accessory. You don’t want a shaky video or your camera to fall off its make-shift tripod.
Continue to work on improving your setup by adding things that make your videos better.
Content Delivery Networks

The final critical element in live streaming equipment is a solution for content delivery. You need an effective, professional way to get your content to your audience.
We don’t recommend using consumer video platforms like YouTube. They have major downsides. For example, workplaces and universities often block these platforms and since they’re not white label, the ability to scale isn’t accessible for all businesses.
The alternative is a professional online video platform (OVP). A quality OVP provides tools for video security, monetization, and customization. All this occurs in a white-label platform that can be customized for your branding, and embedded on your website.
An OVP uses a Content Delivery Network (CDN) to deliver content via the internet. This content can come in the form of text, images, video and much more.
A CDN is made up of a network of servers located in various locations around the world. This network exists to “cache” content. Using a CDN helps your business use a widely distributed network of live streaming servers for your content. When a viewer requests content from a CDN, they are routed to the closest server. This happens through the use of a viewer’s IP address. Distance between the server and the users adds potential latency (lag time) to the internet connection.
By connecting to servers around the globe, CDNs are able to create the shortest route for video streams. When a business uses a CDN, it lets scalability become possible should viewership increase.
Here are some other benefits to using a CDN provider:
- Speed – Content delivery networks deliver content at low latency. While a local network is lagging, a CDN is in the passing lane, bypassing the local network and speeding to get to the viewer on time.
- Quality – High-quality video, with minimal lag time. Exactly what the viewer ones.
- Security – Businesses are full of confidential information. CDNs provide an extra layer of security because of that. Using a CDN will prevent security attacks that occur when a site or resource is flooded by attempts to breach it.
Putting it all Together
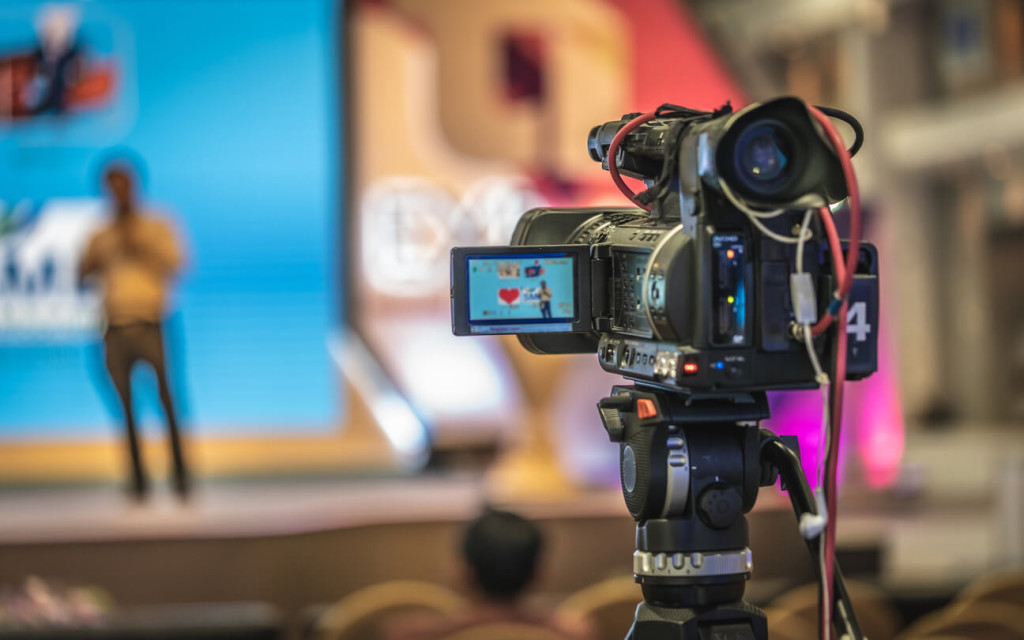
Now that you know what live streaming equipment is needed for an ideal set up, it’s time to piece everything together. During your buying process, ensure that each piece of individual equipment will work together. This should be able to be found on the feature page of each product.
Once you have ordered each piece of live streaming equipment, it’s time to actually put it all together. Create your ideal setup and place everything where you want it to go when you plan to hit record. Here are some things to consider before you begin live streaming:
- Practice – Write a script and practice it. Practice recording videos to ensure that everything goes right when you stream to your audience for the right time.
- Focus – Choose something to focus on for your video. Don’t just go live without knowing what you want to talk about. To keep viewers entertained, have a crystal clear focus.
- Audience – Know who you’re recording your video for. Every audience is different. The type of video content you create for customers will be different compared to the content you create for employees.
Final Thoughts
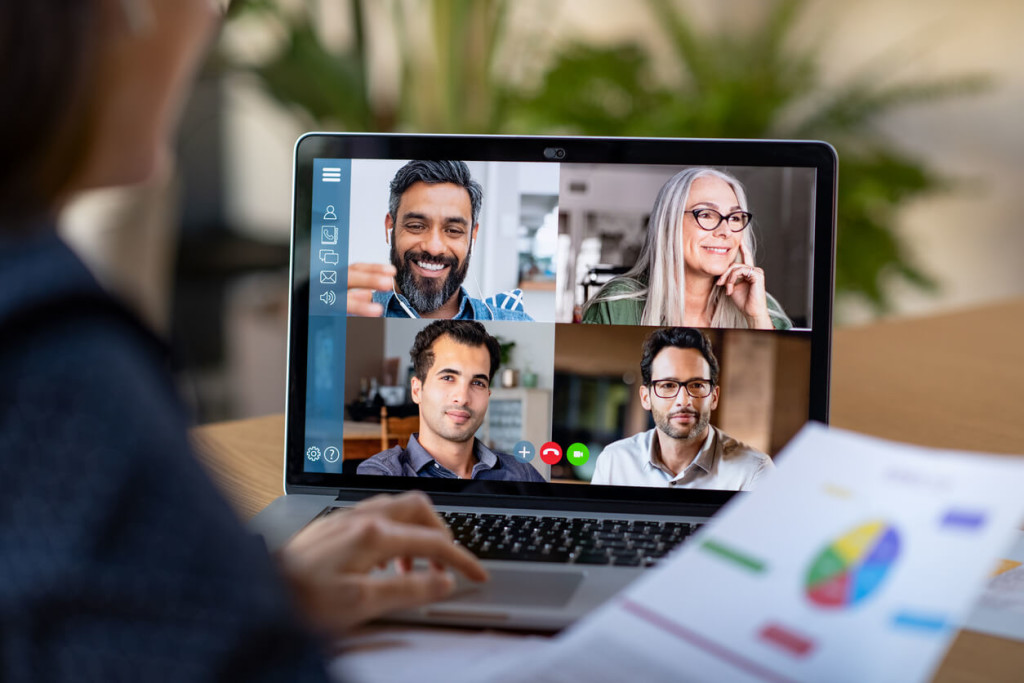
The equipment that you use for a live stream is extremely important. Without the right audio and video, viewers will not stick around.
For many, 90 seconds is the most a viewer will tolerate a spotty stream. That means you only have one and a half minutes to capture a viewer. That’s how crucial audio and video are.
Now that you read this article, you know what it takes. You know what cameras, microphones, encoders, mixing equipment and CDNs you need to set up a killer live streaming set up. Consider each piece of equipment carefully and scale when appropriate.


Leave a Comment